Last Updated on February 16, 2023 by Leepu Da Maxim
Removing the dealer’s sticker from your car is a pain, but it is doable. All you need to make the task easy is a heat gun or a hair drier, car soap, a non-abrasive cloth, a hose, a plastic card or a fishing line, and a non-abrasive sponge. Removing the sticker is a step-by-step task, but it becomes easier when equipped with these tools.
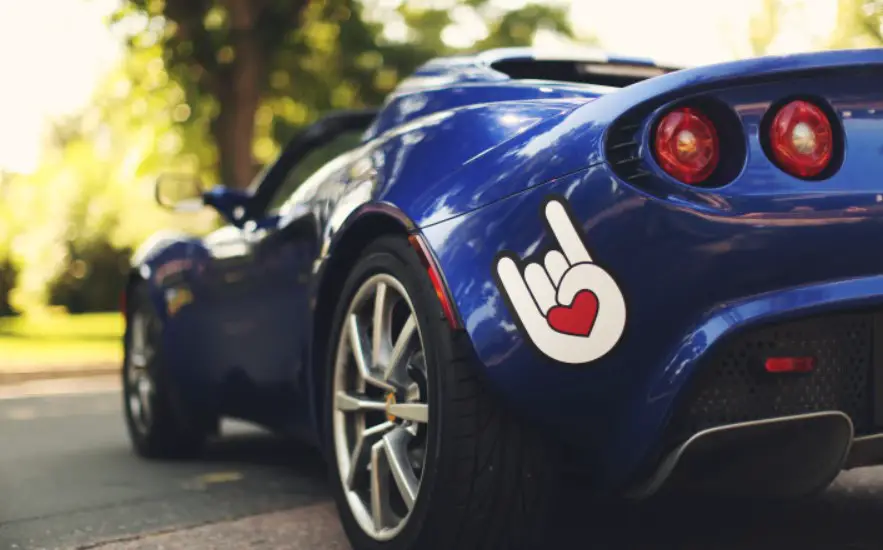
A dealer’s sticker on a newly purchased car doesn’t add beauty to your favorite wheels. The stickers advertise the dealership, but they are unsuitable for your vehicle. Removing such stickers is a noble option since they don’t complement your car’s style. However, the nagging question is, how do you remove the dealer’s sticker from your vehicle?
Remember that the only trick to removing the sticker is doing so under proper and suitable conditions. You are advised to practice patience while removing the sticker since doing it in a hurry might result in a shoddy job with undesirable results.
Removing the Dealership Sticker from Your Car: Step-by-Step

Precision and patience are vital when removing the dealer’s sticker from your car. This guide takes you through different phases that you should follow to ensure that you successfully get rid of the sticker in the best way possible, ensuring that the sticker’s spot becomes spotlessly clean.
Requirements
- A hair drier or a heat gun.
- A fishing line.
- A plastic card.
- Car soap.
- A non-abrasive cloth.
- A hose,
- A non-abrasive sponge.
How to Remove the dealership Sticker from a Car in 3 Phases

Phase 1: Heat the Adhesive
Removing the sticker requires three phases. Let’s explore how to do it:
- Start with Cleaning the Logo with Soap and Water
Use soap and water to clean the area around the sticker and the sticker itself. The soap you choose must be a car-specific soap.
Rinse the area around the sticker and scrub it before rinsing off again. It could be best if you noted the following:
- Clean an area that is slightly bigger around the sticker.
- Remember that dirt creates minor scratches while working on the sticker off your wheels.
- Warm Up the sticker with a Hair Drier
Set the hair drier to its hottest limit and run it over the sticker from side to side for some time. The warming of the sticker ensures that the adhesive used to secure it to the car softens.
While warming the sticker, ensure you do the following:
- Heat continuously at the maximum heat until the sticker becomes tacky or wiggles under your finger.
- Suppose you use an industrial heater instead of a hair drier; avoid overheating as this might create a haze in the car’s clear coat.
- Scrape Under the Corner of the Sticker with a Plastic Card
This task is best done when the dealership sticker is still warm. Select a corner and push a scraper or a plastic card under its edge.
However, if the logo is on a window, avoid the card and use a razor blade instead. Nonetheless, avoid razor blades if the sticker is applied to the paint.
Kindly note the following:
- Suppose you find trouble getting under the corner of a sticker; try it from a different angle.
- Avoid a razor blade in painted areas as it might damage the paintworks, thus resulting in rusting.
- Cut through the Sticker’s Adhesive with a Fishing Line
This method works best if the dealership logo comprises a plastic badge. The simplest way to remove the badge is by wrapping both ends of the fishing line around your fingers, then working the line beneath the badge through the adhesive.
Here is how to do it successfully:
- Ensure you work the fishing line back and forth. Pull it using each hand as it slides down through the badge’s adhesive.
- Suppose the fishing line gets stuck while working through the adhesive, warm the adhesive using the hair drier to make the task easier.
Phase 2: Separate the Sticker/Logo from the Adhesive
The next phase is to separate the sticker from the adhesive, and here is how to do it like a pro:
- Slowly Scrape the Adhesive
Whether the dealership logo is a badge or decal, scraping will make it come apart. Work on it slowly and patiently as you apply adequate pressure to the scraper or card’s edge to flatten it against the car when pressing into the logo.
Take note of the following while scrapping the adhesive:
- Ensure that the entire adhesive that holds the sticker is separated. Suppose there are remnants of the adhesive; ensure you repeat the process until your vehicle’s last bit of the glue is ridden.
- For better and impressive results, ensure that decals are scrapped off altogether.
- If Necessary, Reheat the Sticker
To ensure that the adhesive doesn’t harden while scrapping it off, reheat the logo to make the process hassle-free.
When scraping the logo takes a long duration, the adhesive cools down and hardens, making it necessary for a reheating process. Below are a few tips about reheating the logo:
- Heat it often when you experience resistance from the adhesive to make your task easy.
- Suppose your initial heating of the logo is sufficient; you can remove the adhesive without further reheating.
- Remove Larger Portions of the Logo Using Your Fingers
While scrapping under the logo, large materials loosen; thus, it will be good if you grab them with your fingers and pull them off.
If you are removing decals, it will be best to peel them off, but if you are dealing with a badge, pulling it off while scrapping is a better option.
Caution: Be aware that badge logos are prone to breakages while removing them; therefore, ensure utmost care.
- Remove Leftover Adhesives Using Adhesive Remover
Sometimes the dealership badge can come off but leave adhesive trails on your car. In such a scenario, use an adhesive remover to get the adhesive off your car’s surface. Here is what you are required to do:
- Before applying the adhesive remover to the vehicle, read the instructions carefully.
- Spray the adhesive remover on the car’s surface where the sticker was glued.
- Wipe the spray and the adhesive away gently.
Phase 3: Protect the Paint beneath the Sticker
Removing the dealership sticker from your car is not the end of the task. You must ascertain that the paint beneath the sticker you have just removed is well protected. For optimal protection, follow these steps:
- Use a Stripe off Wheel
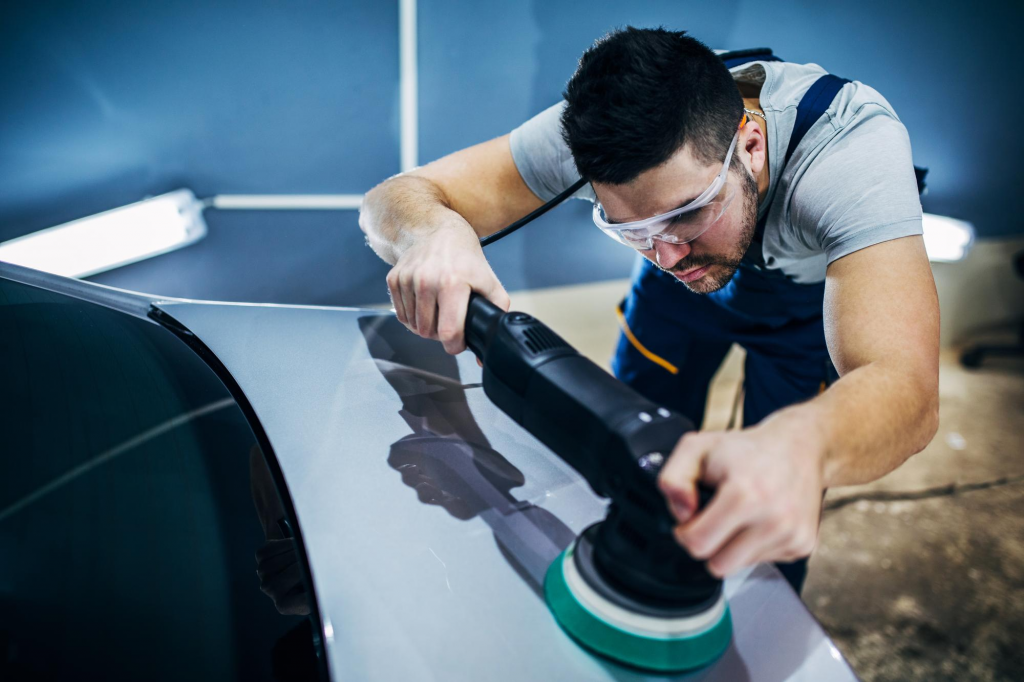
Some adhesives might become stubborn and hard to come off your car after removing the sticker. Use a “stripe off wheel” attached to the power drill to remove the adhesive residues without damaging your car paint.
Suppose you haven’t used a stripe off wheel before; here is how it works:
- Start by attaching the wheel like any other drill and touch it lightly to the adhesive while the drill is spinning. To remove the glue effectively, ensure you use vertical and horizontal movements.
- Suppose your drill features adjustable settings; ensure it spins at less than 4,000 RPM for better results.
- Wash the Area Previously Occupied by the Sticker
After successfully removing the sticker from your car, it is time to wash the portion with soap and water to do away with any adhesive leftovers.
- Apply a New Wax Coat

The scrapping process might remove the wax on the paint. Therefore, you are advised to apply a fresh wax coat where the sticker was previously occupying. Alternatively, you can opt to wax the whole body.
- Buff the Wax off
Patiently wait for the wax to dry before buffing it off. Ensure you use a clean cloth to avoid scratches, and buff the wax in a circular motion for an excellent outcome.
The Bottom Line
Dealership stickers and badges don’t add any value to your car. Don’t sweat over the idea if you find them inappropriate and wish to remove them. The task is doable if you equip yourself with the right tools. Ensure you have a car wash soap, a heater, a fishing line, a razor, a non-abrasive cloth, and a sponge before embarking on the task, then follow the steps explained in this post.
Reference 1: How To Remove Dealer Sticker From Car? True Answer (carfromjapan.com)
Reference 2: How to Remove the Dealer Sticker from a Car (caranddriver.com)

Hi, I’m Leepu Da Maxim , a dedicated car enthusiast with over 10 years of experience in this field, and I’m thrilled to share my passion and expertise with fellow car enthusiasts like you. My journey began in my hometown West Jordan, Utah, where my fascination with the mechanics and design of cars sparked at a young age. Over the years, this passion has evolved into a commitment to providing accurate, insightful, and engaging information about all things automotive through CarsAmazing .

